Locations

Sylvester @ FixAppt.com
Last Update há 5 anos
Locations are places where your employees deliver your company's services or hold your events. Locations can be fixed addresses of your business or variable addresses such as "Customer Location" or "Zoom Meeting".
Add or manage Locations at Dashboard > Locations.
Single Location
If there is only one location where your services or events will take place, you can either:
- add it for clarity (strongly recommended), or
- skip adding any locations altogether.
When there is only one Location created, all employees will be assigned to it by default.
Multiple Locations
If your services and events take place at multiple locations, you will need to create a Location for each. In this case, each employee will be manually assigned to one main (default) Location.
Although employees are each assigned to a main location, they can be scheduled to work at other locations. To do that, go to "Work Hours" in an employee's settings and add the other locations and corresponding timings.
Customer-Defined Locations
If your business also provide services at customer locations, you will have to:
- create employees that are solely dedicated to off-site services, and
- set up these off-site services as standalone service items.
You should set up off-site services following the steps below after setting up your on-premise Locations, Employees and Services.
- Create a new Location and name it "Customer Location" or similar. The remaining fields are not necessary but you can add a note in the "Info" field which will get included in the confirmation emails.
- In Dashboard > Services, create a new category (eg. "House Call") and then create the offsite services under this category. Name these services appropriately such as "Facial (House Call)" to help differentiate them from your on-premise services.
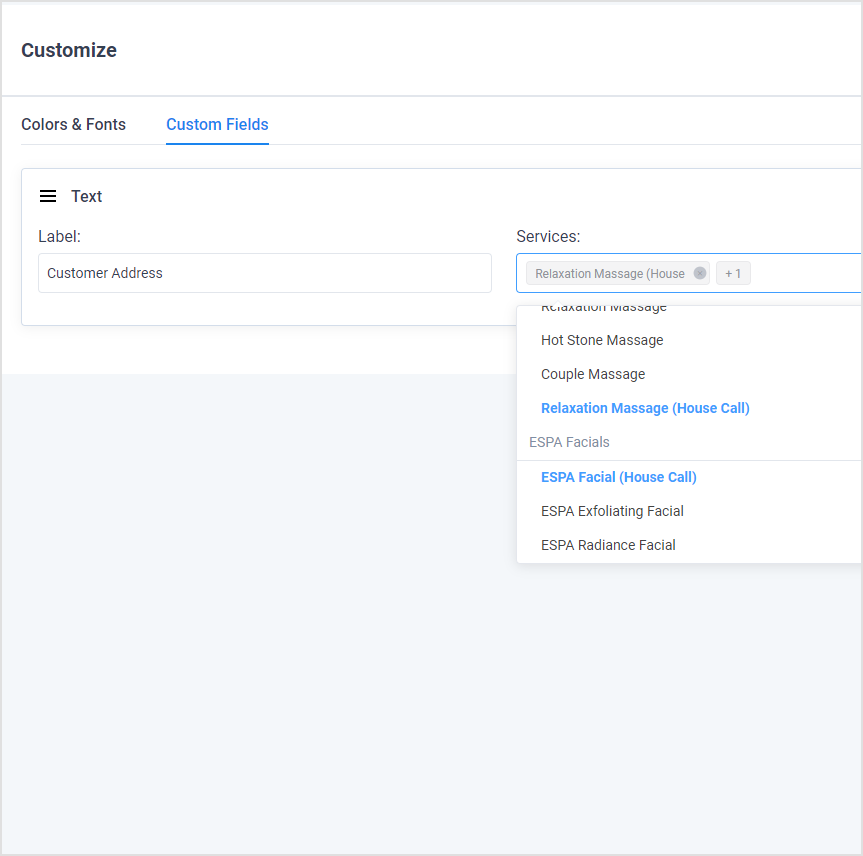
- Go to Settings > Booking Form (Custom Fields) and you will see a "Customer Address" custom field already created for you. In the "Services" selection box, simply select all your service items that are delivered at customer locations. The "Customer Address" field will then appear during booking to ask for the customer's address.
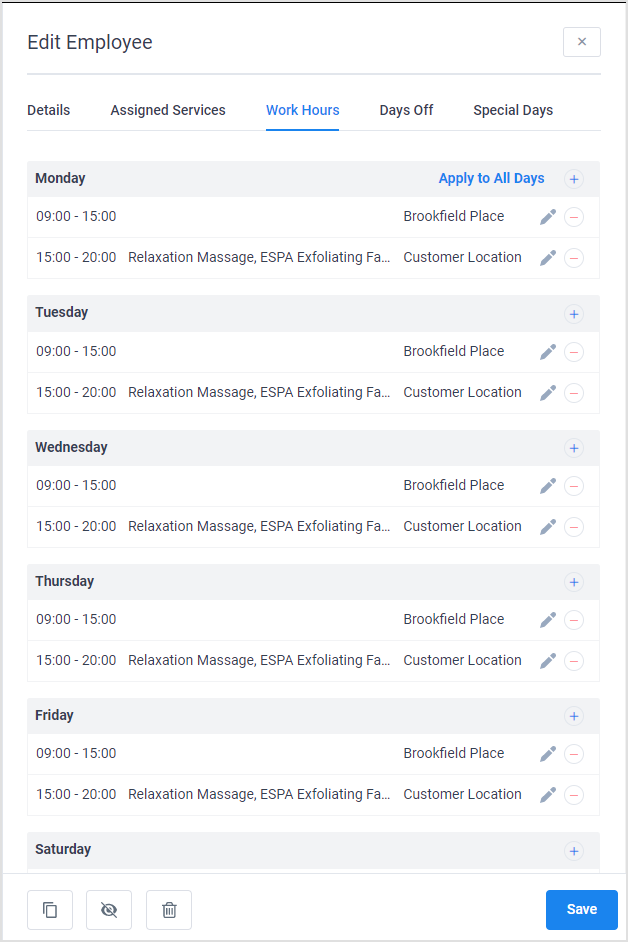
- In Dashboard > Employees, create one or more off-site employees assigned to the location you just created (in this case, "Customer Location"). Setup their work hours accordingly, as per normal.
An employee should be assigned to only on-premise locations or solely off-site, not both.
To save you time, a custom field "Customer Address" (rename it if you need to) has already been created for you, and its email placeholder (%custom_field_12%) has been inserted into the appropriate email templates. To start using it, all you need to do is simply select the applicable services (see below).
Zoom Meetings
If you are using Zoom for some of your service appointments, you can set them up by following these steps.
1. Create a Location and name it "Zoom Meeting" or similar. The remaining fields are not necessary but you can add a note in the "Info" field which will get included in the confirmation email by default.
2. Create the Zoom-based services in Dashboard > Services and give them appropriate names like "Advisory Service (Zoom)" to help differentiate them from your on-premise services, if any.
If you have not done so, you will need to first set up the Zoom integration by following the tutorial found at Integrations: Zoom.